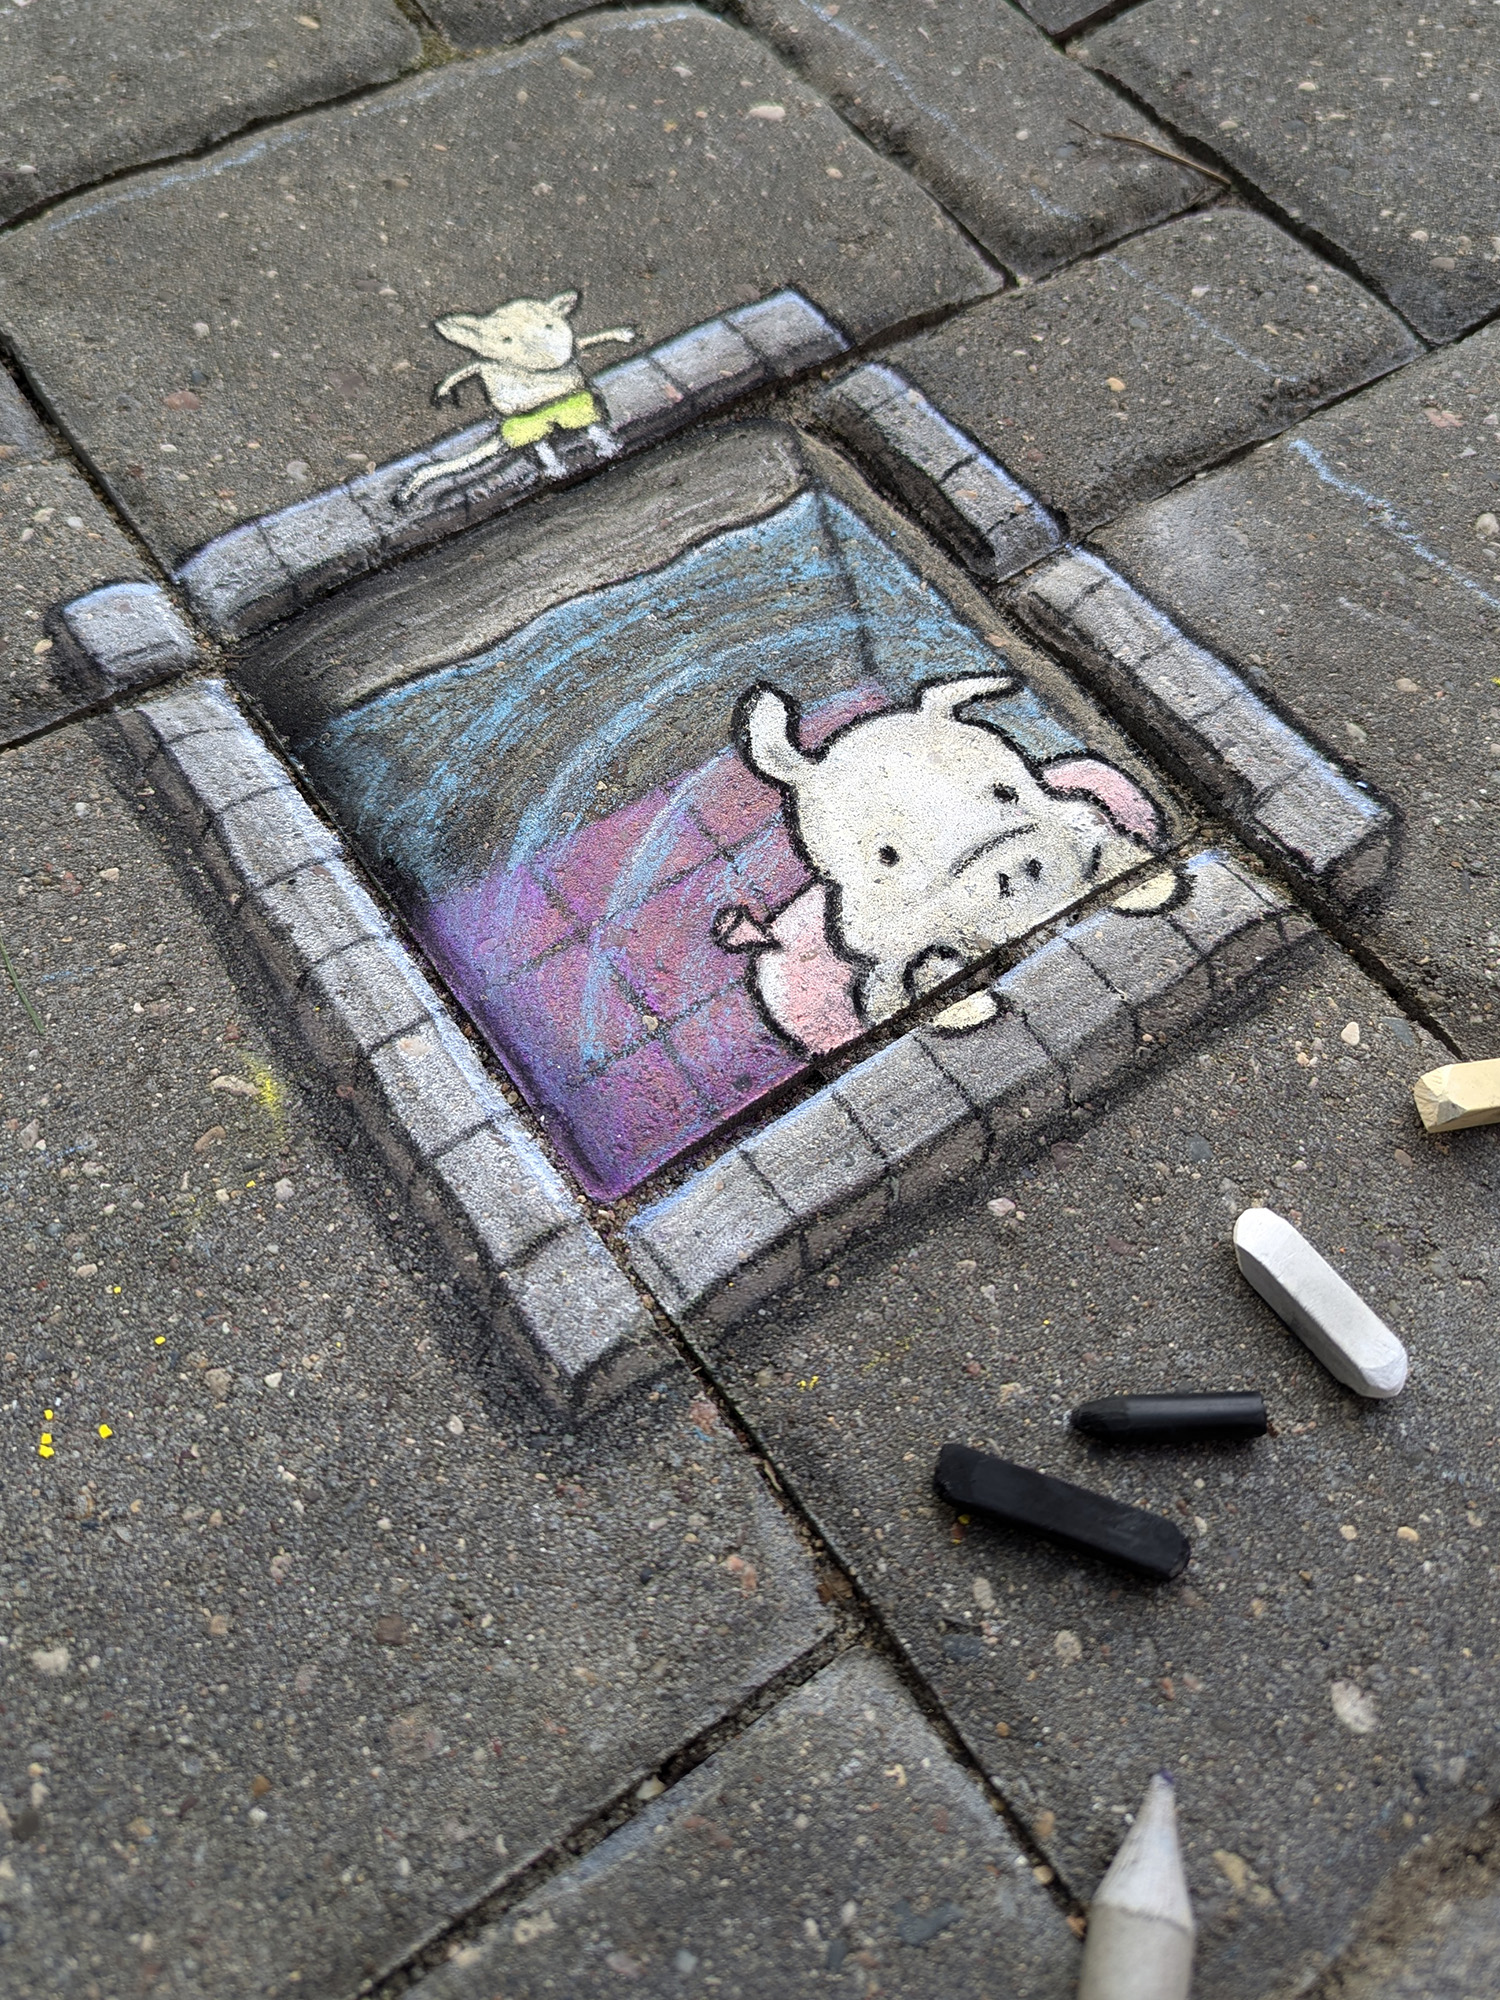
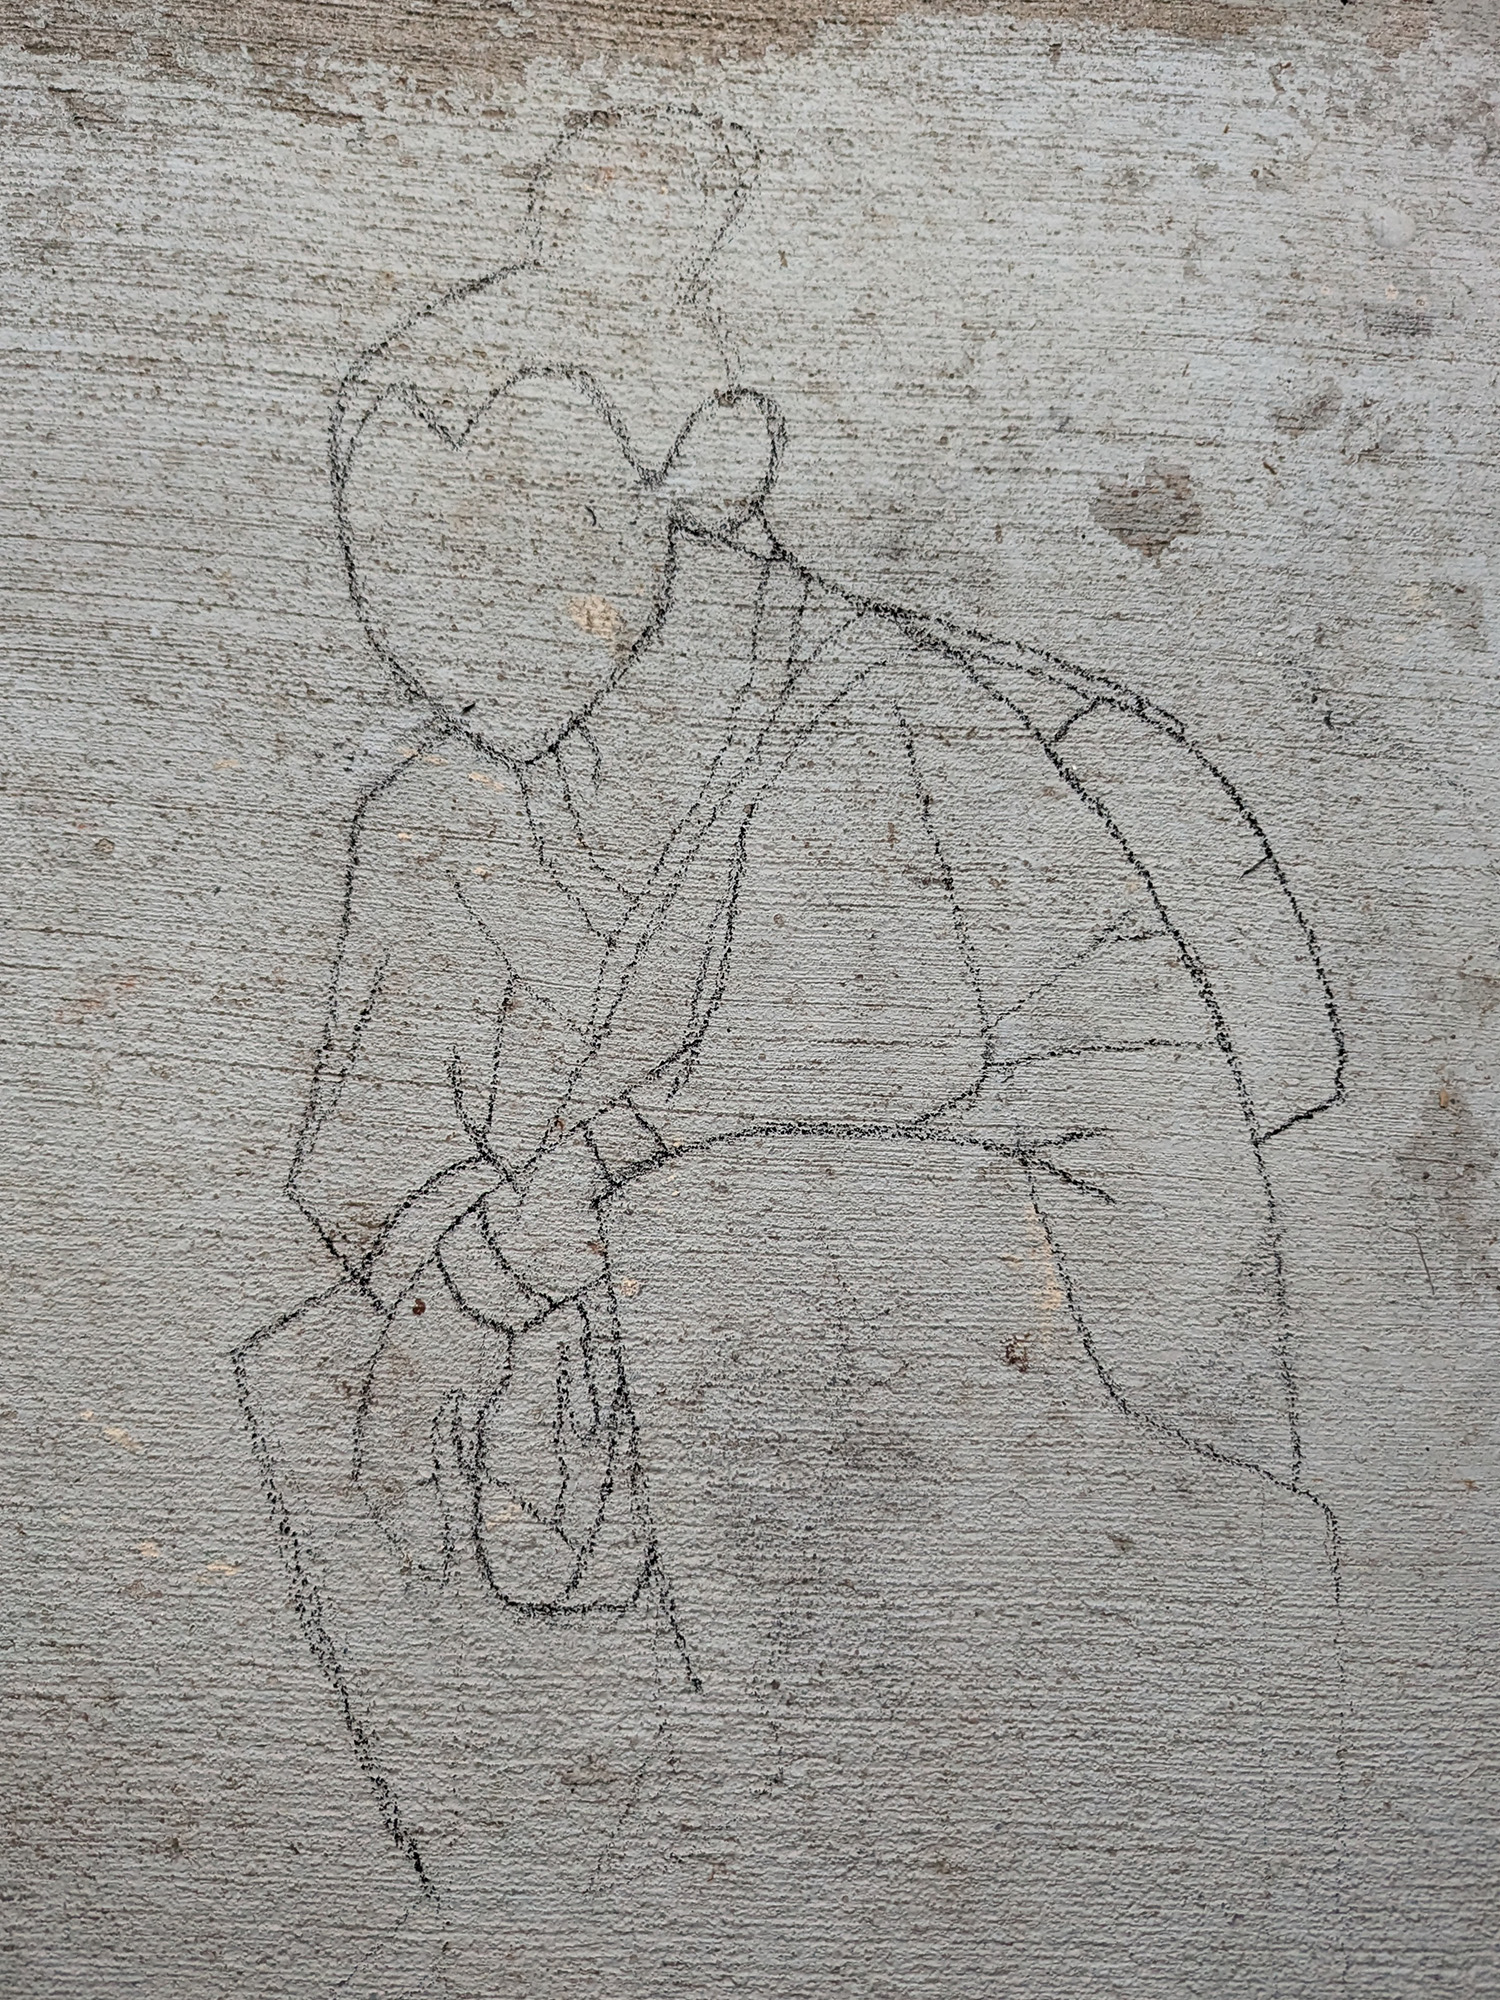
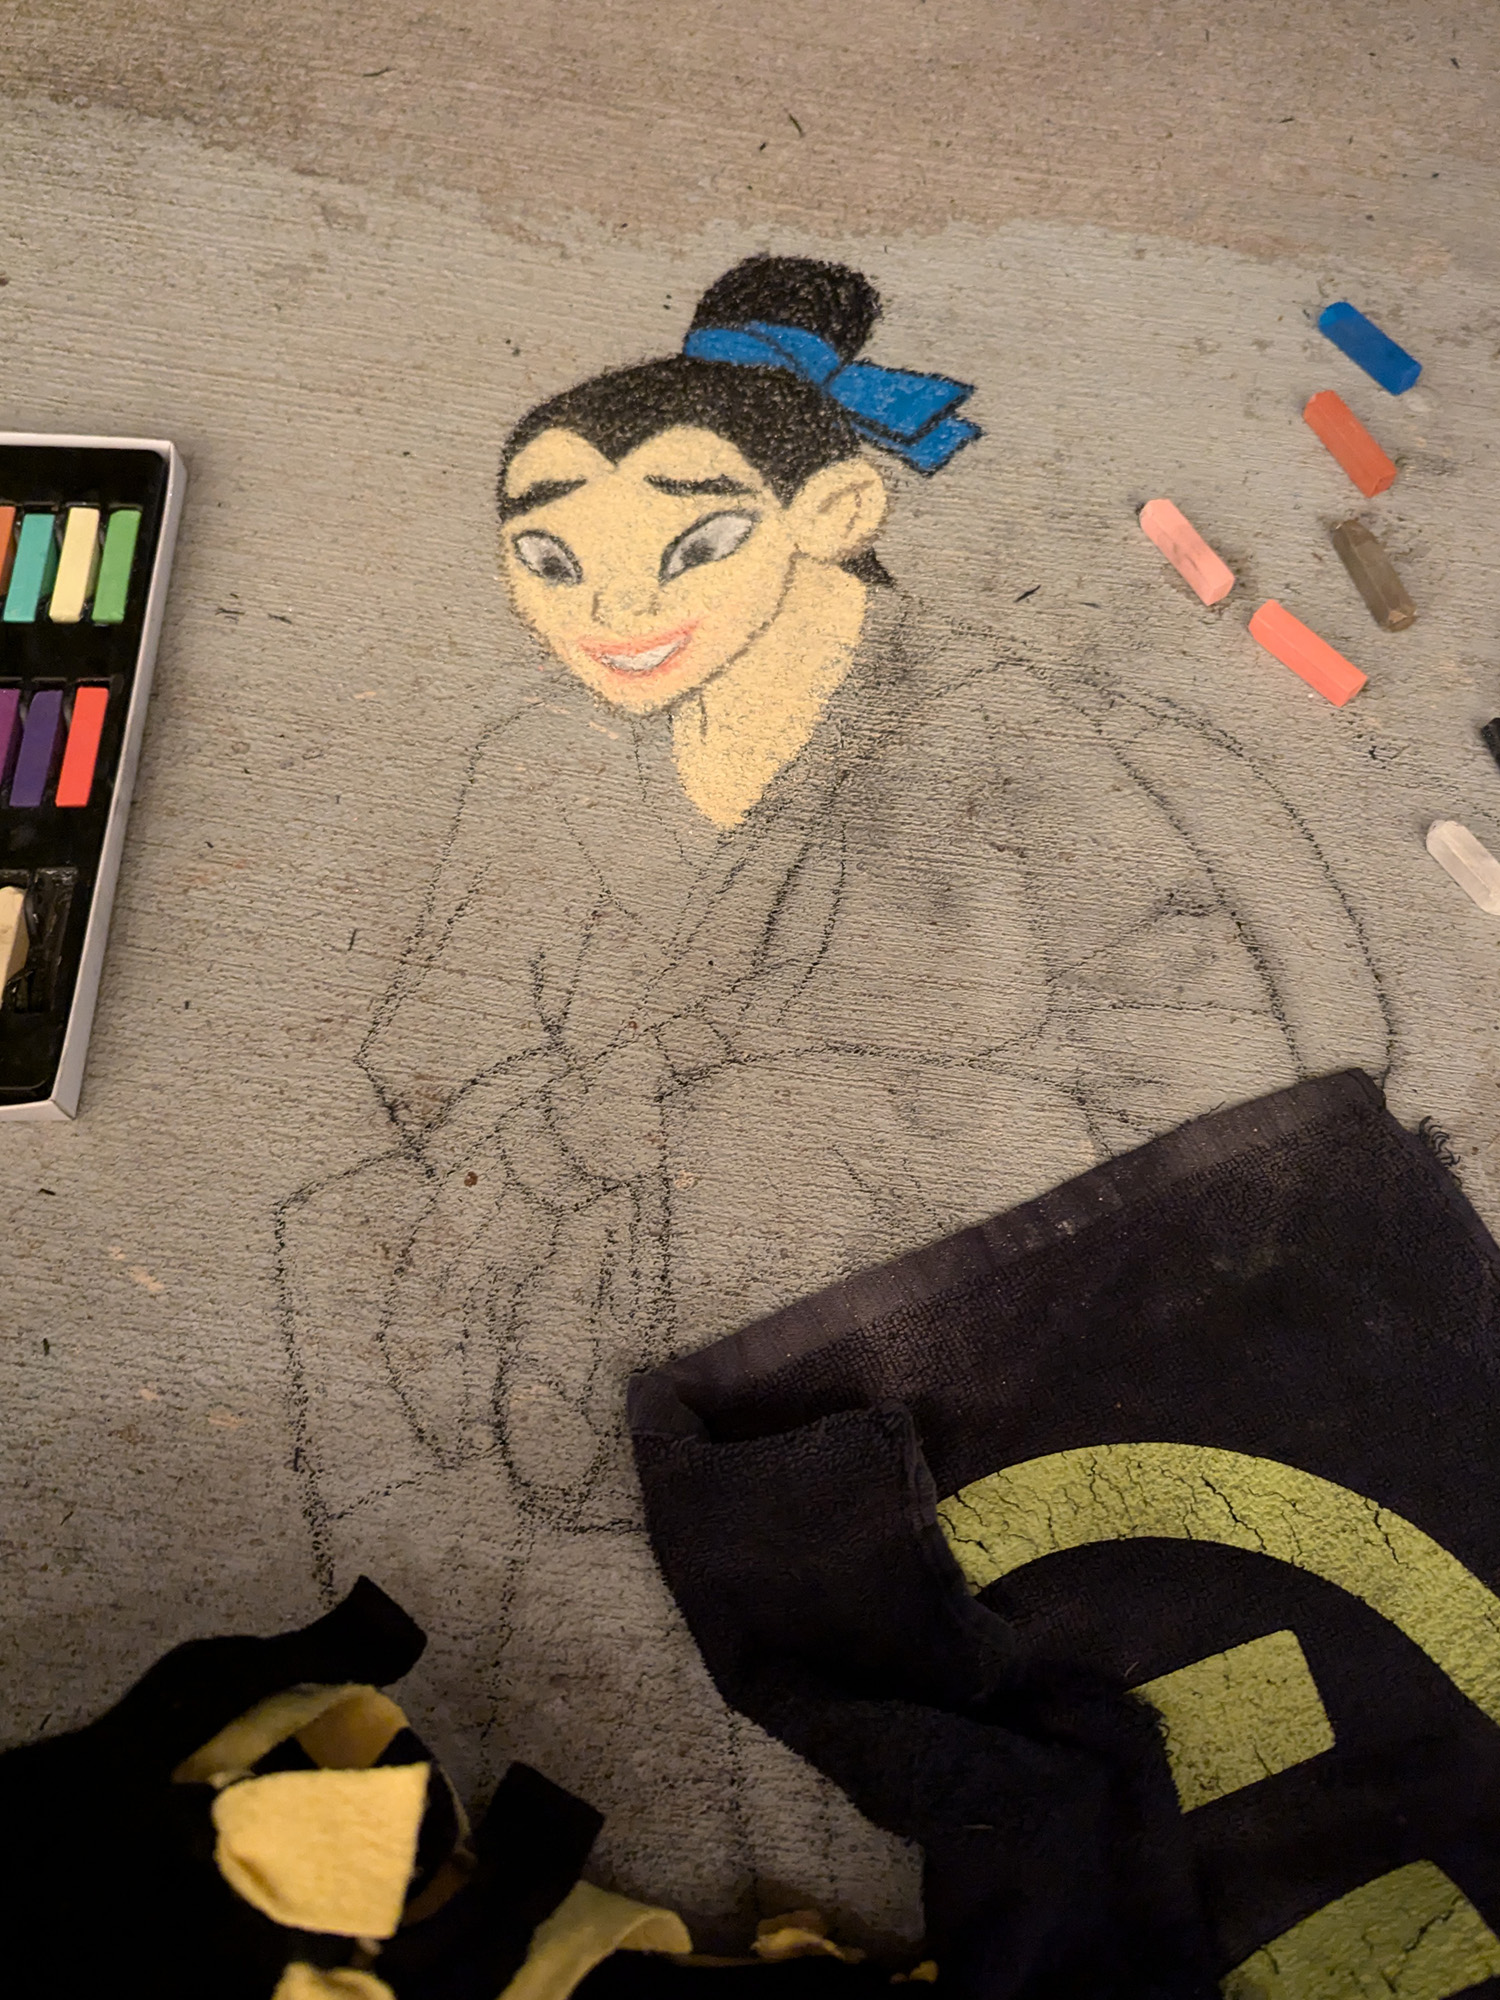
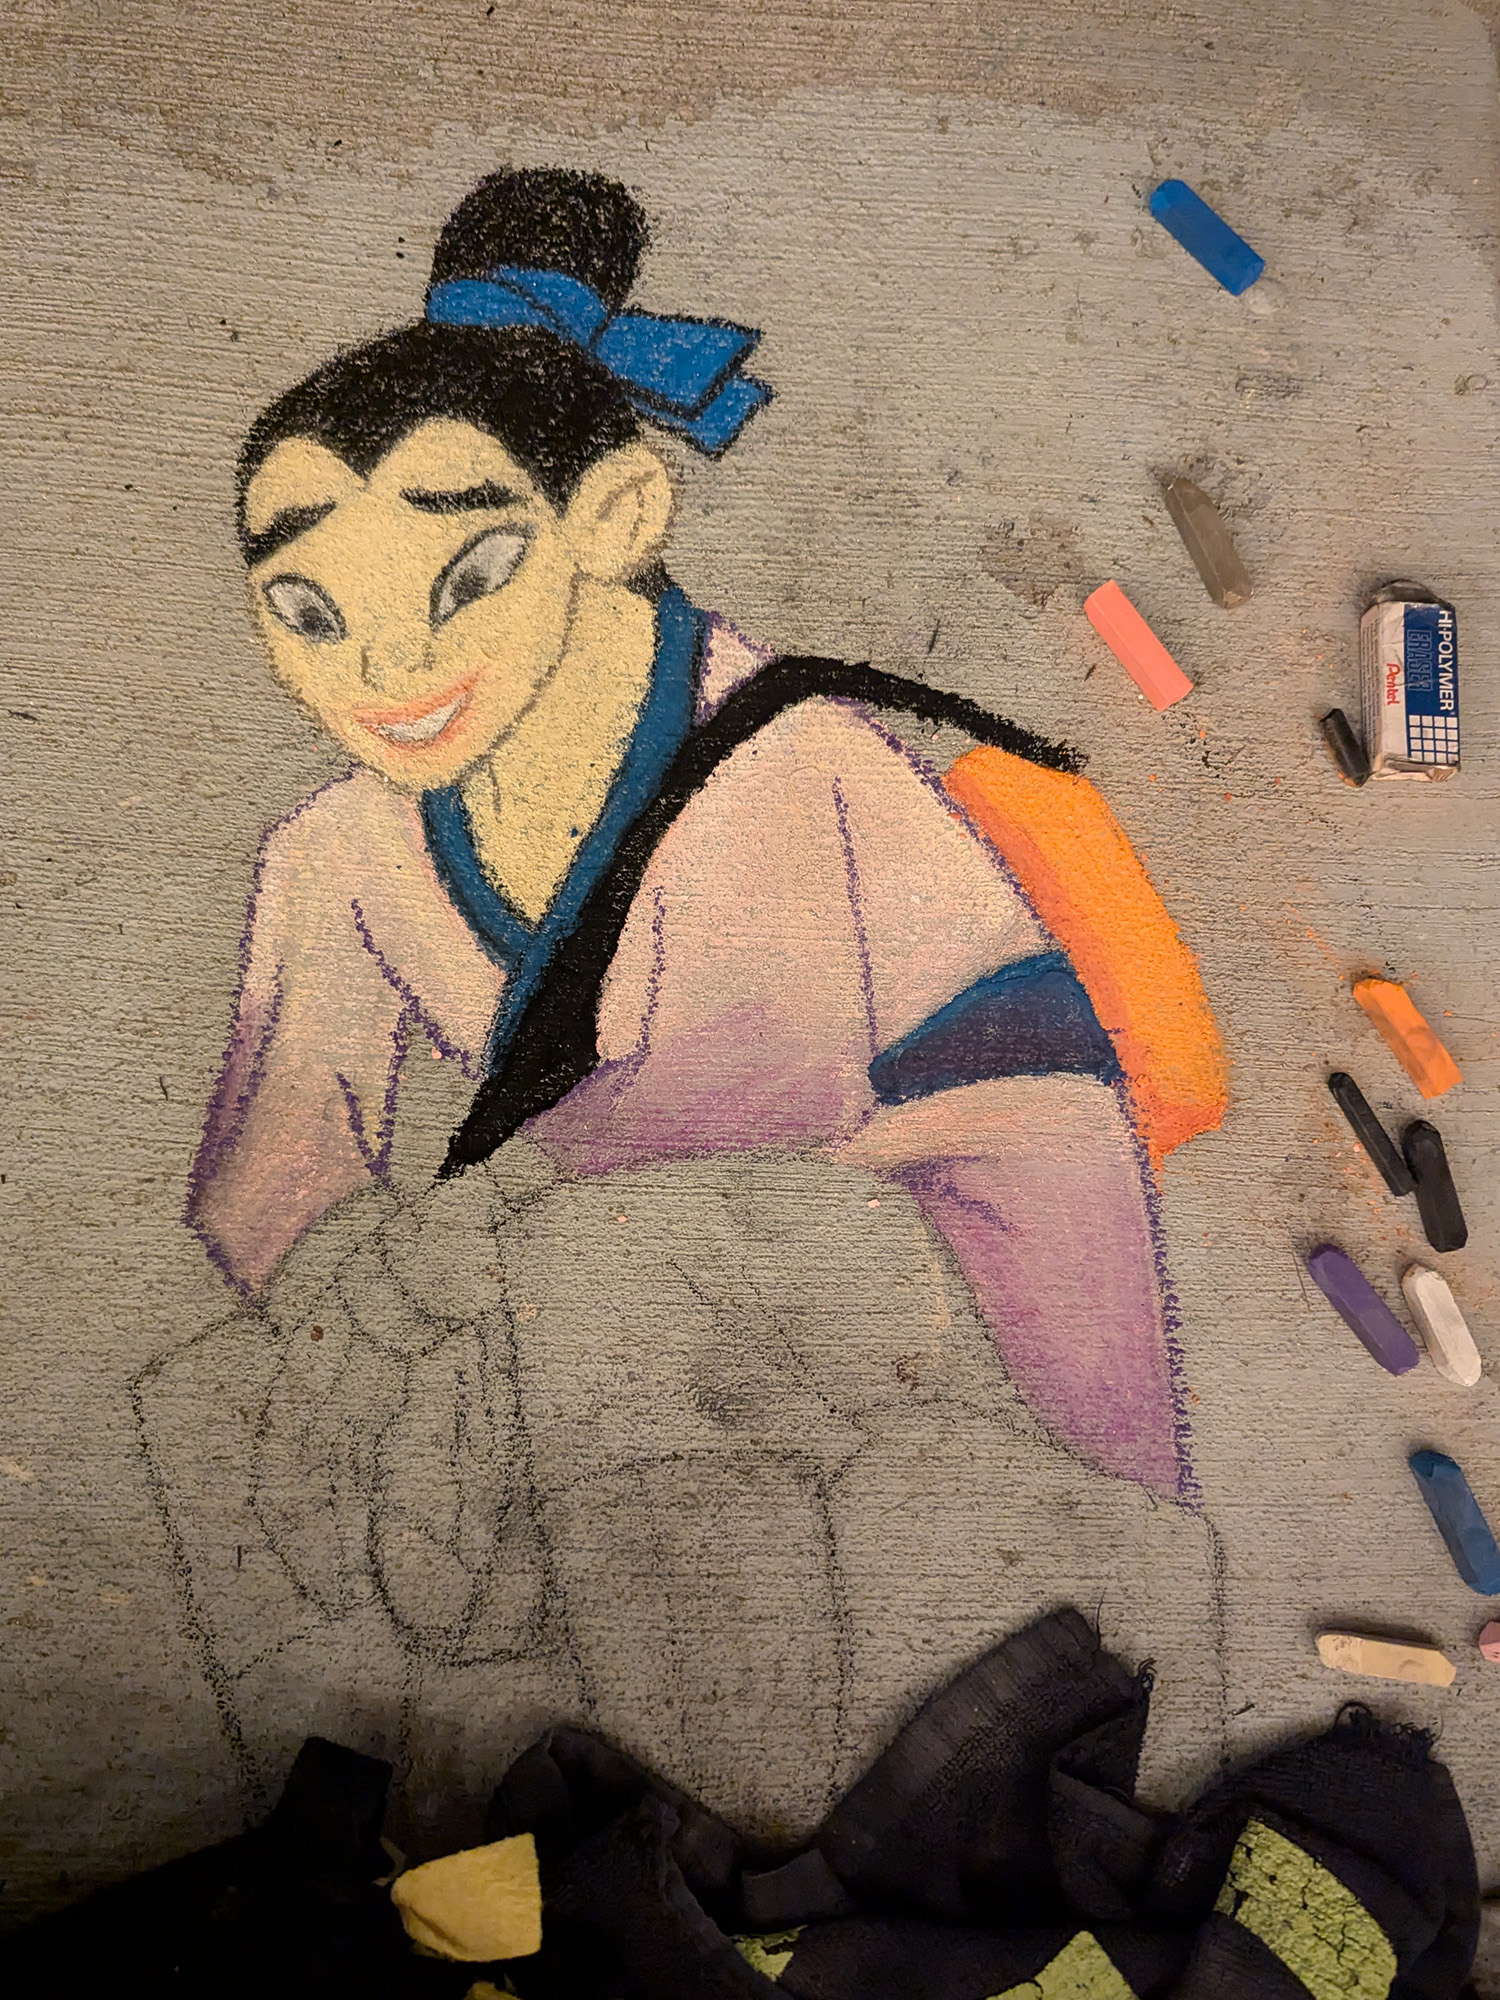
10 Tips for the Weaving Beginner

If you’re anything like me, you can’t wait to get started with your weaving! So to help you along, these are the 10 tips for the weaving beginner that I think you should know before diving in. Promise me that after you read them, you will go and get started!

1. Start sooner rather than later.

Weaving is one of those crafts that can be kind of hard to wrap your brain around. Take some time to figure out how to set up your loom for your first weaving, and then just dive in! You will learn so much as a weaving beginner, and things will make way more sense when you’re actually doing it for yourself.

2. Build your own loom.

Really, really! You are so capable of building a simple loom, just have confidence! OR. You can make one out of a picture frame, clipboard, or piece of cardboard. You don’t need to invest in one unless you know you’re going to love it (and if you typically aren’t someone whose interest goes away after one time *points to self*).

10 Tips for the Weaving Beginner: Closeup3. Keep the warp tight.

The warp is the yarn that runs vertical on the loom, added before you begin. You want this to be pretty tight, but maybe not so tight that you can pluck it like a guitar string. It should give a little bit in order to accommodate the weft (the woven yarn you will add to create your weaving).

4. Closer warp, crisper detail.

My big dreams for my first weaving died quickly when I realized my warp was too spaced out. Sometimes that is what you want, especially if you’re working with thicker materials, but I wanted to make sharp angles in my weaving. Instead of a smooth diagonal, it would have turned out looking more like stair steps. Closer warp, crisper detail.

5. Anchor your weaving before you start.

Take a piece of cardboard or thick cardstock about an inch or two tall and weave it through your warp. Nestle it against the nails at the bottom of your loom. This will give you a solid foundation to push your weft (horizontal yarn) down tightly. I learned this after I already started and added it in toward the end. From one weaving beginner to the next: yes, it can be done; and no, it is not recommended.10 Tips for the Weaving Beginner: Rya Knots

6. Love your colors!

You’re going to work really hard at making your first weaving, so you may as well enjoy the result! Think ahead of time of what it’s purpose is going to be. Are you gifting it? Is it going to hang in a certain room? Will that hot pink yarn you love so much really match the rest of that space? Kind of silly to remind people to choose colors they’ll love, but you’ll feel better knowing why you chose what you did.

7. Arc your weft.

The biggest thing you want to avoid is pulling the weft too tightly which causes the sides of your weaving to curve inward. The goal is to keep those edges vertical. Avoid this by forming an arc as you work from one side to the next. Then, take a fork or your finger and push your string down against the previous row. The arc adds the extra yarn needed to keep it loose to avoid the bowing look.

8. Explore using a shuttle versus a tapestry needle.

I saw many people using a shuttle, so I thought it was something I should be doing, too. But it actually just made my work go slower–granted, my shuttle was home-made (cardboard). I found that my tapestry needle gave me such quick precision for my weft, which I loved! It is especially helpful for patterns when the over/under pattern changes with each row. Although, if I were doing it more often, I’d invest in an extra long needle!

10 Tips for the Weaving Beginner: Crazy9. Try something crazy.

So by this point you’ve obviously seen other’s work and have probably drooled over a few of their wall hangings. What did you like about it? Were there fun loops in the middle? A variety of shapes and colors? Maybe they left some strings hanging down in unexpected places. This is your first weaving; why not give something like that a shot? Not only will it be easier than you realized, but it’s also going to grow your creativity to bigger ideas than you knew you could think up!

The final and most important tip of all…

10. FINISH IT.

Finishing something is just as exciting as starting it. As a weaving beginner, you get that same thrill of accomplishment. The I-actually-did-something high. The beauty of finishing a project is feeling good about yourself; knowing you are capable of following through with your plans. The ball of momentum starts to roll a bit faster as you head into your next project with a bit more confidence, ready to tackle anything in your way.

Unfortunately not many get to see this momentum pick up, but you are not like most people.

You are multi-passionate.
You are creative.
You are driven.
And you need this worksheet.

(See what I did there?) Organize your creative projects, hopes, and dreams with this two-page worksheet that will be delivered over the next few days (this was intentional for greater success).

So there it is! My 10 tips for the weaving beginner. I would love more than anything for you to show me your weaving! Share it on social media with #theheartwardproject and reach out to say hi!

What is your biggest question about getting your weaving started? Ask me in the comments below!


Related articles: Building My Weaving Loom  |  Exploring the Art of Weaving  |  2017: My Most Creative Year Yet

Join my newsletter!

If you live a life bubbling over with too many ideas to count, you are in the right place! I love giving people motivation and encouragement to keep their wheels spinnin', and joining my newsletter will be a great action step for you!

And, guess what -- it's a two-way street. I want more than anything to hear back from you and get some conversation going! Accountability? Sure. Community? Definitely!

Don't worry, I hate spam, too. I promise to only send you content when I feel it is valuable to share.